January 5, 2023
How to Get Quick, Beautiful, Open Source, and Performant Images for Your Blog
Justin Golden

Length: Medium
Level: ✓ Beginner X Intermediate X Advanced
Find the Image
First, go to Unsplash.com and think of your image idea. Unsplash has thousands of gorgeous and high quality images you can use for free. If you don’t find the perfect image, tweek your search and get creative. Remember, you don’t need an exact fit; an arbitrary and artsy image of someone standing by a car will work fine for a post about purchasing cars.
For this post, I’ll just search “searching” since that’s what we’re doing here : )

For this one, I’ll choose the man with the flashlight by the water, because it conveys the searching message and looks cool, even though it’s not exactly a person searching for images, titling, compressing, and attributing them…
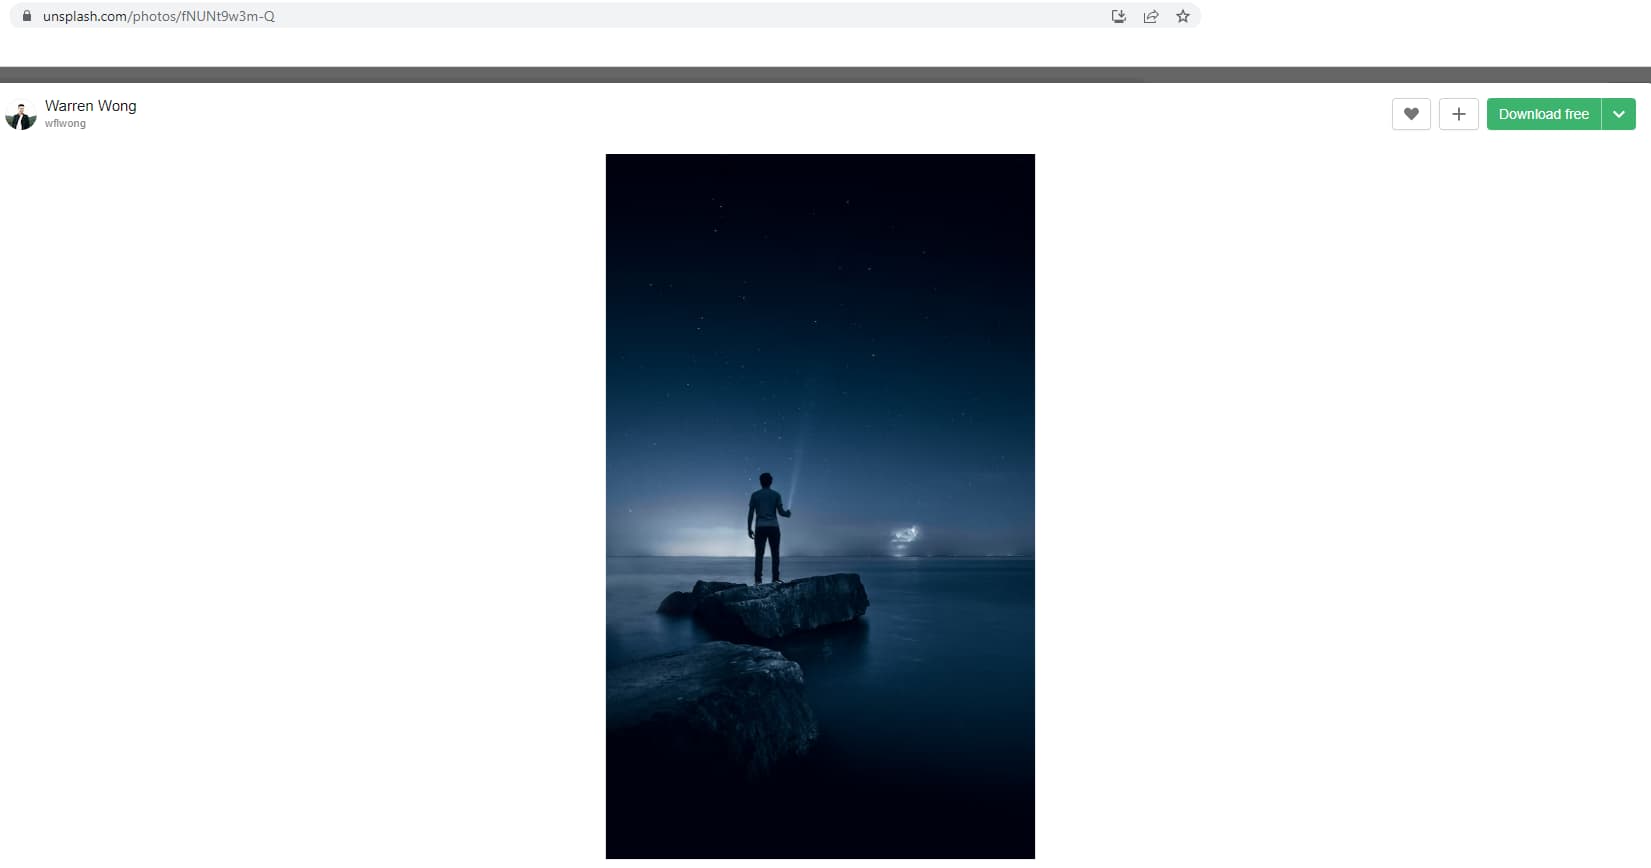
I’ll click “Download free” on the top right, then take note of his tag @wflwong on Unsplash to attribute this image to him.
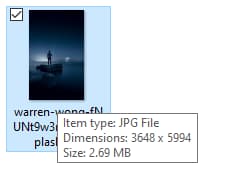
However, we can see this image is huge:
Compressing the Image
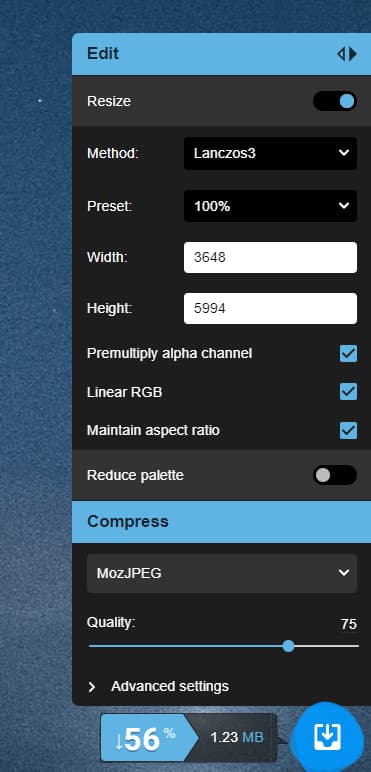
Next, go to Squoosh.app. Squoosh is a website made by Google for optimizing images.

It already cuts the image in half by using MozJPG, however, we can do way better.
If we click “Resize” we can see this image is enormous at 3648 by 5994.
You can use the slider to compare the before and after and determine for yourself what trade offs you want. You may want to use a different percentage, or not even resize the image at all. Try using a nice even number, such as 1/2, 1/3, 1/4 so that the image can resize “cleaner.”
Selecting 25% gets us 912 by 1499, which is much better, and still a great resolution for the web.
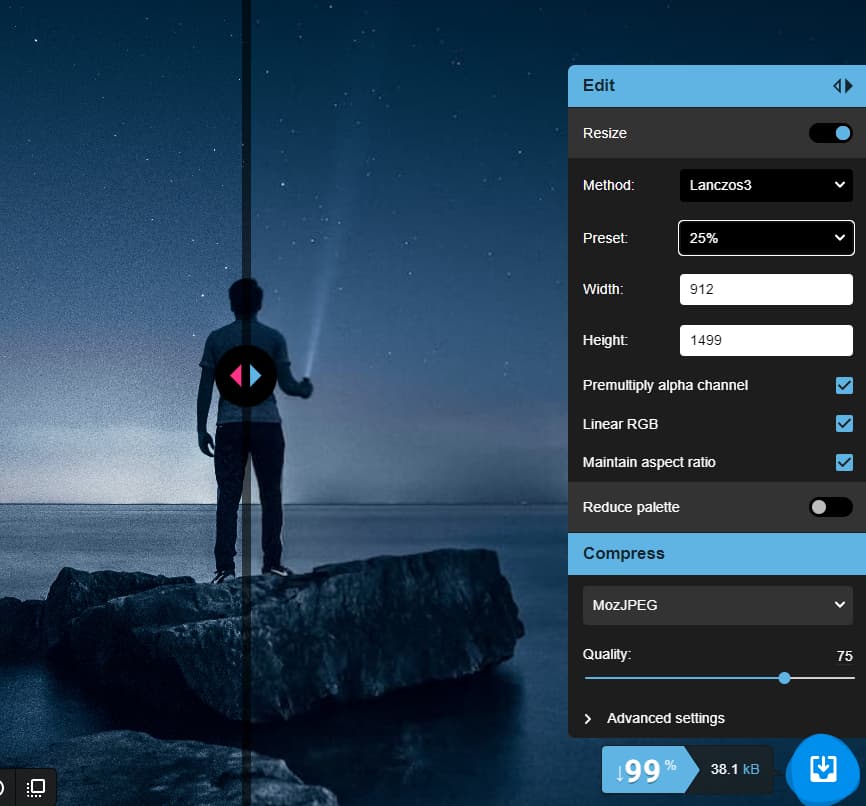
That takes us down from 2.83mb to just 38.1kb, saving us 99%.
But we can do one better. First, download this image so we have it for later.
Next, change the format from “MozJPG” to “AVIF” and check out the savings
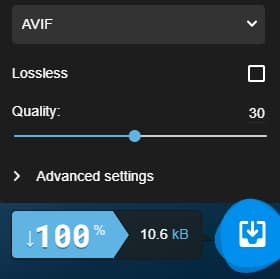
Just 10.6kb for our image; now THAT’S insane!
Download this image too.
Rename your images to something more meaningful, both so you can idenfity and find it, and for image SEO (googlebot refers to file names when determining which images will show up on Google Images and what the images mean). I named mine “man_searching_water”
Adding the Image
Now that we’ve got our image selected, resized, compressed, and named, we can add it to our website.
Before you go “I know how to do this!” and add in <img src="/img/blog/man_searching_water.avif">, I’ve got a few things for you to do.
1. Alt or Title
Firstly, all images should have an alt attribute, which tells the user what the image is. This is used in case your image doesn’t load, for users with screen readers and assistive technology, and also used by crawlers like googlebot. Google will actually ding your Lighthouse score if you don’t have an alt set. If you’re not sure what to put, pretend you’re describing the image to someone who is blind. For my image, I put “man searching water with a flashlight.” It’s important that navigational images such as menu or back buttons have clear alt or title tags (title will be shown on hover), and even if your image has no semantic meaning, just add alt="" to indicate that the image can be ignored, so users with screen readers, users with a poor connection, and Google all know the image doesn’t mean anything.
<img src="/img/blog/man_searching_water.avif" alt="man searching water with a flashlight">
We’ve sitll got a major problem, and that’s that many users still won’t see any image at all. That’s because AVIF isn’t fully supported yet. Some browsers such as Edge will render nothing, and that’s, let’s say, less than ideal. Thankfully, we downloaded the image as a JPG, which is supported everywhere and also has great compression.
2. Fallback
We can try loading the AVIF and provide the majority of users a great performance gain, while still not abandoning our users who don’t have the latest updates by using the picture tag:
<picture>
	<source type="image/avif" srcset="/img/blog/man_searching_water.avif" />
	<img src="/img/blog/man_searching_water.jpg" alt="man searching water with a flashlight" />
</picture>
The <picture> tag allows us to list out sources to use, and if none work (or the picture tag is unsupported), it will fallback to the img tag with the jpg we gave it.
3. Attribution
We can use the <figure> tag with a <figcaption> to give credit where it’s due.
<figure>
  <picture>
    <source type="image/avif" srcset="/img/blog/man_searching_water.avif">
    <img src="/img/blog/man_searching_water.jpg" alt="man searching water with a flashlight">
  </picture>
  <figcaption>Photo credit @wflwong on Unsplash</figcaption>
</figure>
We can also link to his Unsplash page https://unsplash.com/@wflwong if we want:
<figcaption>Photo credit <a href="https://unsplash.com/@wflwong">@wflwong</a> on Unsplash</figcaption>You can add about="_blank" to get the page to open in a new tab if you’re worried about users leaving you.
Conclusion
And that’ll do! We learned how to find the perfect open source image, resize and compress it, and serve it optimally for web performance and crawlability. I hope you learned something new. Thanks for reading : )
More Blog Articles